Today, everybody can be an artist, and therefore, it is time to turn your plain walls into the canvas of your dreams and paint them with the help of powder paint.
Whether the hobby is new to you or you have been in the world of arts for years, this fresh and whole, joyful color option will never let you get bored.
Imagine living patterns, various textures, and fabulous designs that can be created by using a few equipment and your imagination. Powder paint is not only highly effective and entertaining but can also be applied to patterns, details, or even large murals.
So, are you ready to bring a pinch of art to your home or office?
Take your tools, pick some colors, and let us take you to a land where fantasy and artwork are part of the crazy, unique party!
What Is Powder Paint?
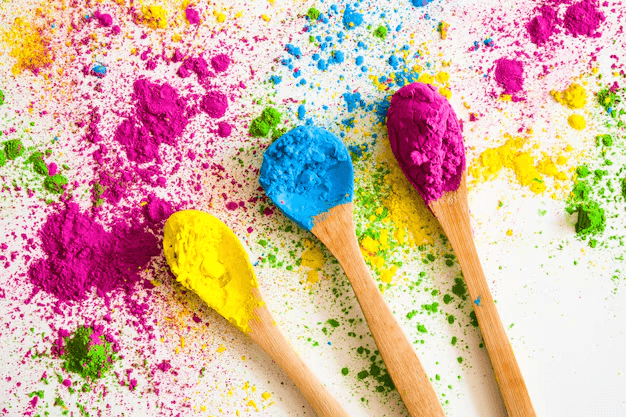
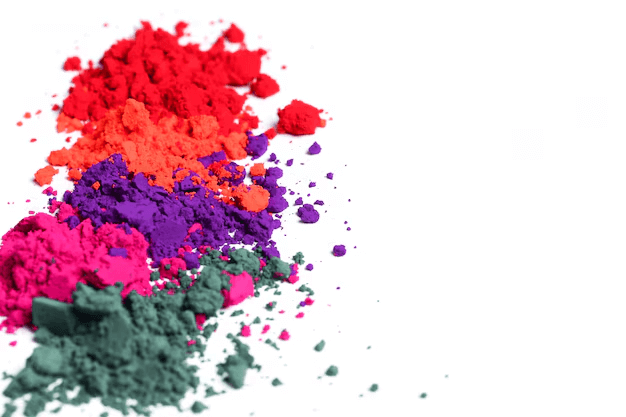
Powder paint, also referred to as powdered pigment, is a dry particulate substance that can be made into paint by the addition of various binders such as water, oil or acrylic solvents.
Due to its rich color and its ability to last for several years, it is widely used among artists for developing clear and deep, well-texturized paintings. The powder form also enables unique methods of application that may include dusting, sprinkling and mixing the powder with other materials on surfaces.
Supplies You’ll Need
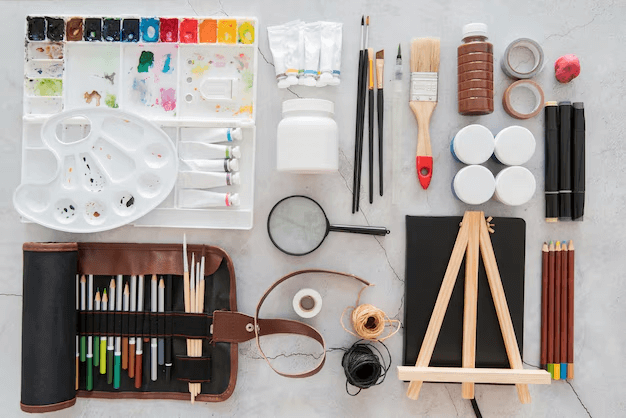
To guarantee a smooth creative process, collect the following materials before you begin:
- Powder Paints: Select a range of colors that most suit your artistic vision. Most art stores make the sets available or sell pigments in sets separated for convenience.
- Canvas or Wall Surface: You can use a canvas with already applied primer, a wooden panel, or simply paint on a prepared wall.
- Binder Mediums: Water, acrylic gel or even glue can be used to dilute the pigments and prepare the powder paint.
- Brushes and Sponges: Utilize a number of different sizes and use texture for added effects.
- Spray Bottle: Used for creating gradients and splatters.
- Palette or Mixing Tray: To blend the paint.
- Masking Tape or Stencils: For clean lines or patterns.
- Protective Gear: Gloves, an apron to protect the clothes worn, and a mask so as not to breathe in the fine powder.
- Drop Cloth: As a barrier that guards the floor or any other surface against spills resulting from random accidents.
Step-by-Step Guide to Creating Vibrant Wall Art

Now that you’re motivated, let’s get started with a detailed tutorial on how to use powder paint to transform your artistic vision into gorgeous wall art!
Step 1: Prepare Your Workspace
The first step you need to take is setting up a separate work area. To prevent damage to the floor and other furniture, lay down a drop cloth or plastic sheeting before proceeding. Make sure the area is well-ventilated because fine powder stays airborne for quite a while.
If you are painting on a wall, first wash and apply a coat of tinted sealer to increase the chances of paint sticking. For the best results, it is advisable to use a surface that is smooth and free of moisture.
Step 2: Mix Your Powder Paint
With powder paint’s remarkable versatility, you may adjust its consistency to achieve the appearance you want:
- For Bold Colors: Dilute the powder with a tiny amount of water or acrylic medium to obtain a highly concentrated, heavy, and brilliant color.
- For Transparent Layers: You can paint about 5 coats thinner with more water for a watercolor finish.
- For Textured Effects: Mix the blend powder with a heavy consistency paste or gel, such as molding paste.
Try various proportions to get a correct blend for your work, depending on the type of project.
Step 3: Create a Base Layer
Start by applying the first coat on your canvas or the wall down to which you want your artwork. This could be a plain color, two cozy colors, one or more designs placed in the background or even textures.
Large flat areas should be painted with broad brushes or sponges in order to save time. The base layer shall serve as the platform on which other elements will be painted, making your artwork truly 3D.
Step 4: Add Details and Highlights
Add detailed touches to your artwork to make it more polished once the main design is finished. For accents, delicate lines, or dots, use smaller brushes. Use iridescent paints or metallic powders to enhance depth and shine.
Highlights may add a spark to your artwork. To create a dramatic impact, lightly apply gold or white powder to elevated regions.
Read also A Healthy Guide To Reducing Incontinence Symptoms Naturally
Step 5: Seal Your Artwork
Over time, powder paint may smear or lose its color if not sealed. Use an acrylic sealer, fixative, or clear varnish to preserve your work of art. Spray-on sealants work especially well for uniform application.
Choose a matte or satin finish if you’re painting on a wall to keep the piece looking polished.
Creative Ideas for Vibrant Wall Art
Here are some imaginative themes and designs to get the ideas flowing:
- Abstract Geometry: For a contemporary style, combine geometric designs with vibrant colors.
- Nature-Inspired Art: Create landscapes, flowers, or leaf sceneries.
- Splatter Art: To create dramatic splatters, flick paint with a toothbrush or stiff brush.
- Gradient Murals: Cover significant wall portions with gradient murals by blending colors into smooth gradients.
- Typography Art: Incorporate significant phrases or statements using stencils.
Showcasing Your Artwork
After your colorful wall art is finished, think about the best ways to display or store it:
- On a Canvas: For a polished, gallery-ready appearance, frame your artwork.
- On a Wall: Use well-placed lighting to draw attention to your mural and bring out its hues and textures.
- Online: To inspire people and get comments, share your work on art platforms or social media.
Bottomline
Using powder paint and basic materials to create colorful wall art is an easy and satisfying project for artists of all abilities. The plasticity of the medium permits limitless experimentation, producing genuinely distinctive and striking works.
Any wall or canvas may be turned into an artwork that expresses your individuality and creativity by following the above instructions.
So, arm yourself with materials, let your creativity run wild, and begin creating your masterpiece right now!